Pages

Showing posts with label recipes. Show all posts

Thursday, July 28, 2011

Freezer Meals + Best Lasagna Recipe EVER!

WARNING: There is some intense nesting about to happen here.  Call it pregnancy hormones or God intervening when your body just doesn't want to help you get things done...whatever it is...I'm in it deep. Just ask my husband.  He'll tell you about the new cleaning program we are on. :)

For now, I'm all about the freezer meals...anything that I can cook double of and store part of it for before or after the baby arrives is right up my alley lately!

One of my first freezer meals is my all-time favorite lasagna recipe from allrecipes.com.  You HAVE to try this!  There is something about the sauce that makes this an incredible dish.  

You can find the original recipe here on allrecipes.com.

I put my version of this recipe and modifications below.


World's Best Lasagna from Allrecipes.com (with changes by me)

Ingredients

  • 1 pound sweet Italian sausage
  • 1 pound lean ground beef or ground turkey
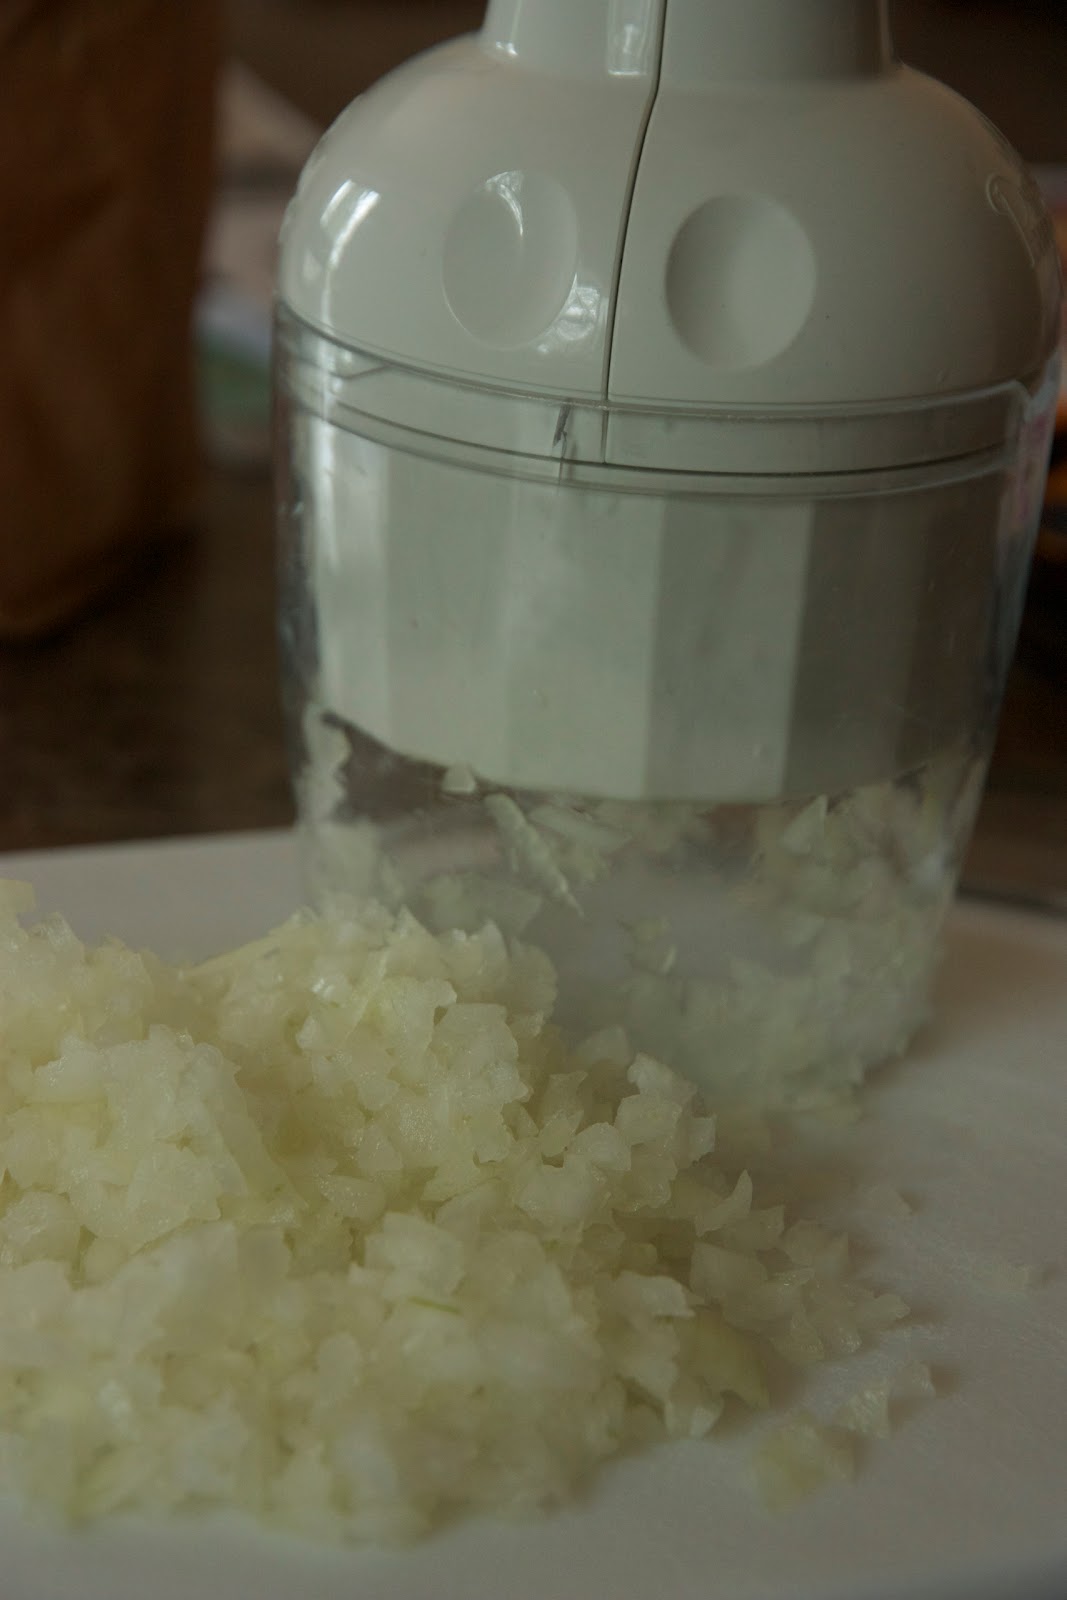
  • 1/2 cup minced onion
  • 2 cloves garlic, pressed
  • 1 (28 ounce) can crushed tomatoes
  • 2 (6 ounce) cans tomato paste
  • 2 (6.5 ounce) cans canned tomato sauce
  • 1/2 cup water
  • 2 Tbsp. white sugar
  • 1 1/2 tsp. dried basil leaves
  • 1 1/2 tsp. Italian seasoning
  • 1 Tbsp. salt + 1/2 tsp. for ricotta mixture
  • 1/4 tsp. ground black pepper
  • 4 Tbsp. chopped fresh parsley (1/2 for sauce and 1/2 for ricotta mixture)
  • 9-12 lasagna noodles (I can only fit 3 2/3 noodles per layer in my 9 x 13 pan)
  • 16 ounces ricotta cheese
  • 1 egg
  • 1/2 tsp. salt
  • 4 cups shredded mozzarella cheese
  • Grated Parmesan cheese (I don't usually measure this, but just sprinkle generously)

Directions

  1. Fill a 9 x 13  pan with warm water and soak lasagna noodles while preparing remainder of recipe.  This is a time saver!
  2. In a large sauce pot, cook sausage, ground beef, onion, and garlic over medium heat until well browned. Drain, if needed.  Stir in crushed tomatoes, tomato paste, tomato sauce, and water. Season with sugar, basil, Italian seasoning, salt, pepper, and 2 Tbsp. fresh parsley. Simmer on medium low heat, covered, for about 1/2 hour, stirring occasionally.
  3. In a mixing bowl, combine ricotta cheese with egg, 2 Tbsp. parsley, and 1/2 teaspoon salt.
  4. Preheat oven to 375 degrees F if you plan to bake lasagna now.  This lasagna is always better if it sits in the fridge overnight!
  5. To assemble, spread thin layer of meat sauce in the bottom of a 9x13 inch baking dish or (2) 8x8 inch baking dishes. Arrange layer of noodles over meat sauce. Spread with one half of the ricotta cheese mixture. Top with a third of mozzarella cheese. Spoon about 3 cups meat sauce over mozzarella, and sprinkle with Parmesan cheese. Repeat layers, and top with remaining mozzarella and Parmesan cheese. Cover with foil: to prevent sticking, either spray foil with cooking spray. If you put it in the freezer, put a layer of plastic wrap down before the foil.  Just make sure you remove the plastic wrap and recover with foil before cooking!
  6. Bake in preheated oven for 25 minutes. Remove foil, and bake an additional 25 minutes. Cool before serving. Enjoy!


Other freezer meals attempted so far:


Canadian Bacon, Egg, and Cheese Breakfast Sandwiches


More to come...I've still got 11 weeks of nesting to go! :)


Sunday, June 19, 2011

Growing...Nursery, Belly, and Garden

Wow, this is becoming very real.  


We're putting together cribs...


...preparing physically and mentally for 10 diaper changes a day...


...buying Dr. Suess books...


...and hanging tiny clothes in preparation to meet our son.  And we couldn't be more excited...and nervous...and freaked out...

but mostly excited. :) 


23 weeks. Baby B is the size of an ear of corn and almost 1-1/2 lbs.  Growing, growing, growing!

Speaking of growing...I'm exercising my green thumb this year and planted my first garden!  But similar to my actual exercise regimen, it is strictly low-key. :)  With the limited space around our small townhouse, there is not much room for anything extravagant.  In any case, despite the operator errors, I have come to love watching these plants grow from little tiny seeds.


Here's what's growing...or not growing...or thinking about growing...


Sweet Basil, my favorite herb.  When I was in Italy, almost every restaurant had what was called Insalata Caprese.  Yum, yum, yum.


Here's the simple recipe perfect for summer.


I feel like this cilantro is going to be an "error" in my trial-and-error gardening philosophy.  Better luck next year!


Green beans in a pot...also looking like an "error."  Has anyone ever successfully grown green beans in a pot?  Let me know if there is hope!


Tomatoes...so far, so good!


The towers o' lettuce.


3 onions and the crazy mint that would grow no matter how hard I try to kill it.

And what's not shown...

Lavender, sage, and oregano (hiding behind the towers of lettuce)
Dill (decided it no longer liked pickles and stayed underground)
Rosemary (indoors and GREAT in mashed potatoes!)
Chives (on the other side of the house)
Spinach (eaten by the wascally wabbits)


Monday, February 28, 2011

Recipe Organization

This may have been the only productive thing I did this past weekend, but I'm pretty pleased with the outcome...

Recipe Organization 101

Gather all recipes scattered around the house, stuffed into drawers, or hiding in crevices...


Buy or Make two decorative binders for...

1. Tried & True Recipes (only recipes that I've made 3 or more times will make it into this book)

2. Recipes To Try (this is where I can put all those recipes I will get to someday)


Page protectors - I almost always spill what I'm making on my recipe...this should help!

Dividers with Tabs - I had five to use...


1. Appetizers  2. Soups/Salads  3. Side Dishes  4. Main Dishes  5. Desserts


And presto...organization! 


True or False? -  I ate an entire very large bowl of popcorn while writing this post. :)  That would be 100% True.

Have a great day!

Saturday, February 12, 2011

Mini Peanut Butter Pies

Happy weekend, everyone! 

Please...let me introduce you to one of my favorite dessert recipes....


{Photo via allrecipes.com}

This is seriously one of the easiest, yummiest recipes ever.  No baking required and there are so many possibilities with this filling.

Here's my take on the recipe...let's just say, I downsized...


First, I blended a package of Oreos and mixed in a few tablespoons of softened butter to make the pie crust.


Then, plopped the Oreo mixture by the spoonful into my mini muffin pan and pressed it down with my tart shaper thingy (I can't think of the actual name right now for the life of me!).


Next, I whipped up the Peanut Butter Pie filling....and taste-tested it, of course. YUM.


More plopping by the spoonful, topped it with sprinkles, and stuck it in the freezer...

And then, EAT!


Other uses for this filling:

1. Serve filling as a dip with apples or graham cracker sticks.

2. Put it between two chocolate chip cookies, roll edges in sprinkles, and freeze for a delicious ice cream sandwich.

3. Dip spoon into bowl of peanut butter pie filling, then insert spoon directly into mouth. 

Enjoy!

Sunday, January 16, 2011

Cupcake Wars

This is Cupcake Wars on Food Network...

via www.foodnetwork.com/cupcake-wars


via www.foodnetwork.com/cupcake-wars

This is the result of Brandon and I watching Cupcake Wars...


Too bad the contestants can't use Duncan Hines Confetti Cupcake Mix...because they would totally WIN!

A new episode of Cupcake Wars airs on January 18 @ 9 pm EST.  Check it out!

Sunday, January 2, 2011

New Year, New Bread Machine!


Check it out...my blog just got super-sized! I changed the layout so I can add larger photos...what do ya think?

~~~~~~~~~~~~~~~

Well, our goal this past Christmas was to return home from Missouri with less than what we took there.  Do you know how hard it is to fit Christmas presents for 10+ people, a week's worth of luggage for 3 people, the 3 people, and a dog into a tiny Honda Civic? Not easy!

When my mom asked if I would like to have her bread machine and loaf pans to take home with us, I was like..."Uh, YES, PLEASE!" It was no walk in the park, but we managed to squeeze it in the trunk.  

So, Brandon and I decided to test it out this past weekend....


We made Multi-Grain Honey Wheat Bread from Better Homes and Gardens: Bread Machine Bounty.


{Toasted Wheat Germ}


Pans for different sizes and shapes of breads...will be experimenting in the near future with these for sure!


{The Bounty}

It tasted great with the homemade raspberry jam we received this Christmas...thank you, Grandma Bonnie!

Friday, December 10, 2010

Rolo Cookies

This weekend brings one of my favorite Christmas traditions: a cookie exchange.  I love seeing all the different varieties of cookies that people will come up with.....and when I say seeing, I really mean eating. :)

My contribution to the exchange will be Rolo Cookies.  My mother-in-law first introduced me to these yummy cookies when she made them at Christmas time two years ago.  They were soooooo good, I knew I had to try to make them sometime.  

First, I searched for a recipe to use as a guide and found this one from Pillsbury...


Tip: When shaping cookie dough around the Rolo, you want to touch it as little as possible in order to keep the dough cool and easy to work with.  I used the Pampered Chef Tablespoon scoop to measure out the dough, then pressed the Rolo into the dough while still in the scoop.  The only time I touched the dough was to shape it over top of the Rolo.  Worked great, but still got a little messy as you can see. :)


To jazz up the cookies, I drizzled melted vanilla almond bark.  It also gave them a winter-y feel.


My little tweeks to the recipe:

I'm not quite sure how it happened, but I came out short on the dough so I ended up making another half batch of the Pillsbury recipe.  After doing this, I had about 48 cookies.

I also omitted the nuts because I know not everybody is crazy about them.

Lastly, if the cookies cool before you eat them, just stick them in the microwave for 10 seconds to get that just-out-the-oven warmth and gooey, melted caramel center.

So, there they are!  Rolo Cookies.  Have a wonderful Saturday, everyone!

LinkWithin

Related Posts Plugin for WordPress, Blogger...